
For traders analyzing Bitcoin price action, the spot Cumulative Volume Delta (CVD) chart offers a granular view of buying and selling pressure in real time. Unlike traditional volume indicators that simply show total activity, the CVD chart breaks down order flow by trade size, revealing how different categories of market participants are positioning themselves.
What the BTC Spot CVD Chart Shows
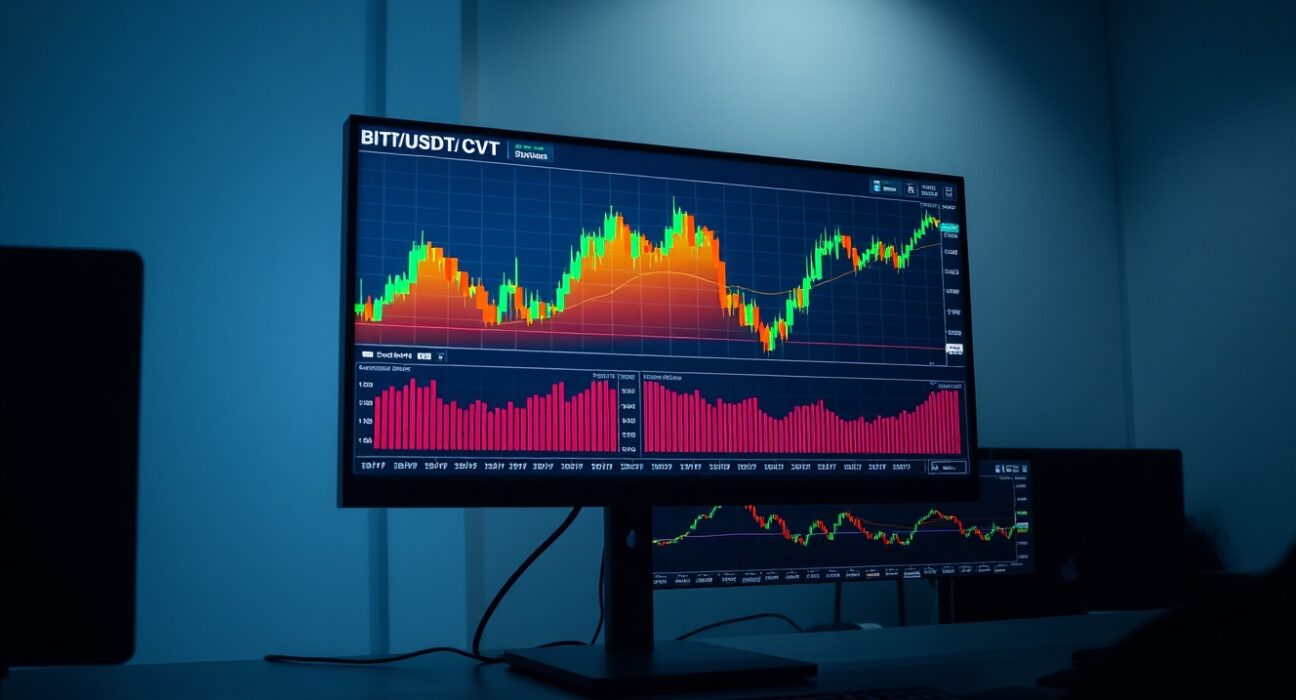
The CVD chart for the BTC/USDT spot trading pair is divided into two primary sections. At the top, a Volume Heatmap tracks the intensity of trading volume at specific price levels. When the price lingers in a particular range or makes a significant move, the heatmap background brightens. These brighter zones can act as potential support or resistance areas, as they represent price levels where a large number of orders were executed.
The bottom section contains the Cumulative Volume Delta (CVD) indicator itself. This indicator categorizes buy and sell orders by trade size and displays them as separate colored lines. As buy orders increase, the corresponding line rises. For example, the yellow line tracks orders between $100 and $1,000, while the brown line tracks large orders between $1 million and $10 million. This segmentation allows traders to see whether retail, institutional, or whale-sized participants are driving the market.
Why the CVD Indicator Matters for Traders
The CVD chart provides a level of detail that standard volume bars cannot. By separating order flow by size, traders can identify whether a price move is being supported by genuine large-scale buying or if it is driven by smaller, less committed orders. A rising CVD in the larger order categories (brown or dark lines) during an uptrend suggests institutional accumulation, while a falling CVD in the same categories may signal distribution or selling pressure.
This information can be particularly useful for identifying divergences. For instance, if price makes a new high but the CVD for large orders fails to confirm the move, it may indicate weakening momentum and a potential reversal. Conversely, if price pulls back but CVD for large orders remains stable or rises, it can suggest that larger players are buying the dip.
Practical Application in Market Analysis
Traders often use the Volume Heatmap in conjunction with the CVD to identify key price levels. Bright areas on the heatmap that coincide with CVD turning points can act as strong support or resistance. For example, if the heatmap shows a bright zone near $60,000 and the CVD for large orders begins to rise from that level, it may be a signal to enter a long position with a stop-loss below that zone.
It is important to note that the CVD chart is a real-time tool and is best used in conjunction with other technical indicators such as moving averages, relative strength index (RSI), or trendlines. No single indicator should be used in isolation.
Conclusion
The BTC spot CVD chart is a powerful analytical tool that provides deeper insight into market microstructure. By combining the Volume Heatmap with the Cumulative Volume Delta, traders can identify potential support and resistance zones, gauge the strength of buying or selling pressure, and spot divergences that may signal trend changes. As with all trading tools, context and confirmation from other indicators are essential for making informed decisions.
FAQs
Q1: What does the Volume Heatmap on the BTC CVD chart represent?
The Volume Heatmap tracks the scale of trading volume at specific price levels. Brighter areas indicate higher trading activity and can act as potential support or resistance zones.
Q2: How does the Cumulative Volume Delta (CVD) indicator work?
The CVD categorizes buy and sell orders by trade size and displays them as colored lines. As buy orders increase, the corresponding line rises, allowing traders to see the impact of different order sizes on price.
Q3: Can the CVD chart be used for other trading pairs besides BTC/USDT?
Yes, the CVD chart is available for many spot trading pairs on exchanges that provide order book data. The same principles apply to any asset where the indicator is supported.
Disclaimer: The information provided is not trading advice, Bitcoinworld.co.in holds no liability for any investments made based on the information provided on this page. We strongly recommend independent research and/or consultation with a qualified professional before making any investment decisions.